Post
Salesforce “How To” ABCs: A
Posted on July 25, 2024 (Last modified on January 16, 2026) • 6 min read • 1,209 wordsHow to Add Products to a Price Book.
We get it. Salesforce is big and wonderful and useful for so many different things but, with so much to learn and do, it’s sometimes easy to forget the exact steps for your less-frequent actions and activities. In this series we’ll be looking at the most commonly googled Salesforce queries, letter by letter: it’s the Salesforce “How To” ABCs!
Today’s letter is ‘A’ as in “How to Add Products to a Price Book?”
We’ll break this post down into three parts, so you can jump right to the help you need. First, we’ll walk through creating a price book. If you already have the price book you need, skip ahead to part two where we’ll tackle creating a new product. And, if you already have your product and your price book ready to go, skip to part three where we’ll show you how to get it listed in the right place!
Let’s dive in!
Creating a Price Book
First thing’s first, we’ll need a price book. Price books allow you to manage all of your products and their pricing in one place. The Standard Price Book is like the master book of all your products (and their pricing) and you can create additional price books to manage prices for market segments, shipping regions, promo campaigns, and more.
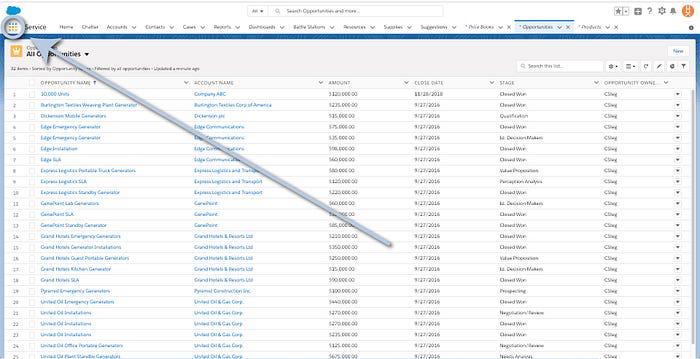
To begin, click on the App Launcher in the top left of your Salesforce instance (the little nine-tiled icon that lights up when you hover over it).
Then scroll down and select “Price Books” (or enter “price books” in the search bar and find it that way).
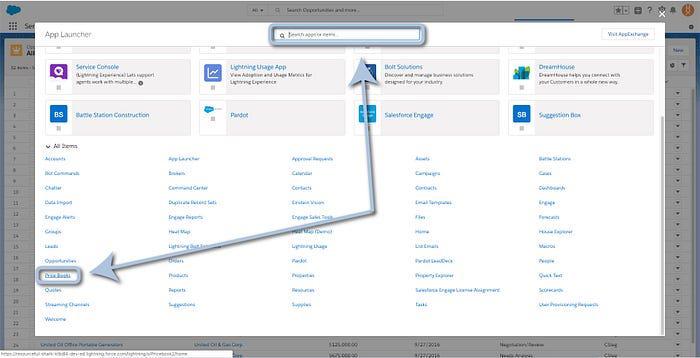
That’ll take you to a list of your price books.
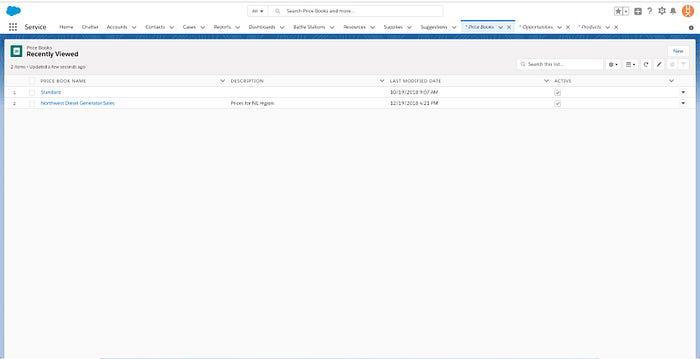
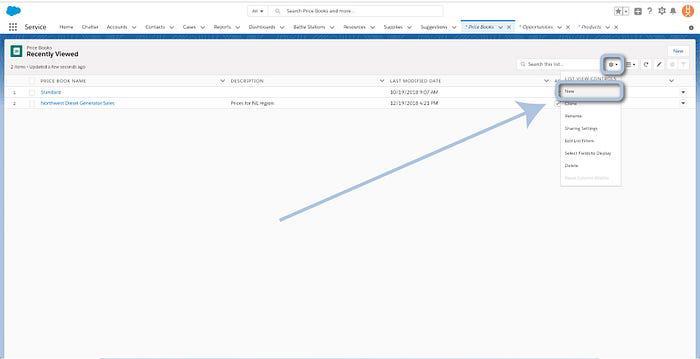
Note: If you’re seeing “Recently Viewed” and would prefer to see “All” price books, click the little cog on the right for “List View Controls”, select “New”, and create a list of “All Price Books”.
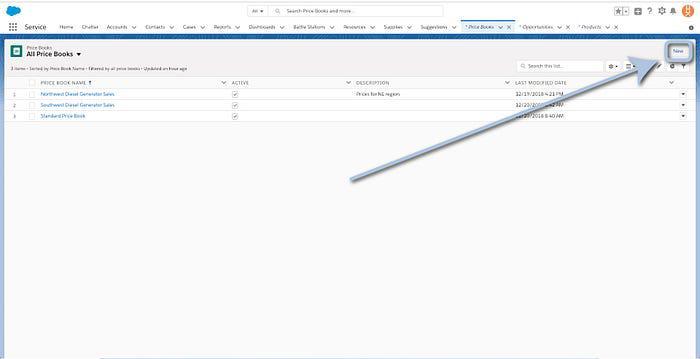
Now, to create a new price book, simply click the “New” button in the top right of the list view.
That’ll open the pop-up for a new price book creation.
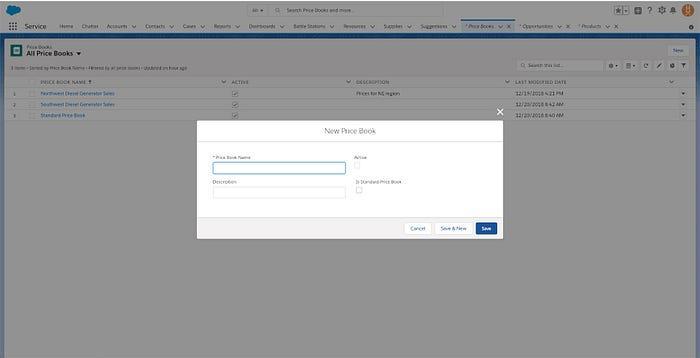
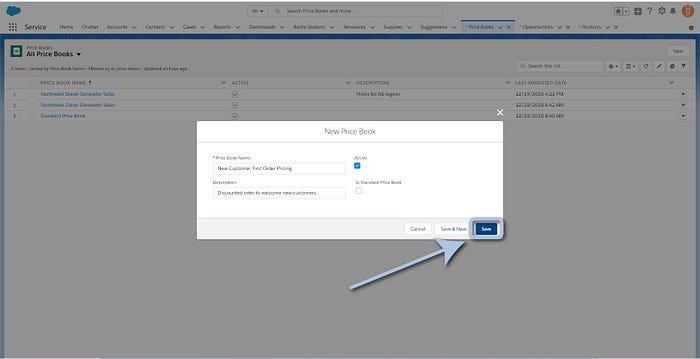
Enter the name of your new price book, add a little description, and check the “active” box to ensure that the price book is enabled. Don’t check the “Is Standard Price Book” unless you’re trying to create a new master price list.
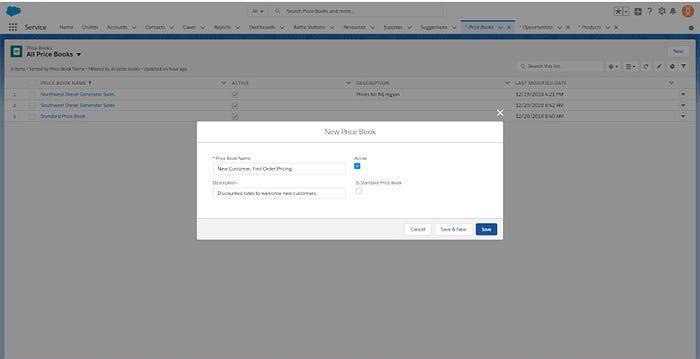
Then click “Save”.
Congratulations, your new price book has been created and you’ll be taken to the new price book’s page!
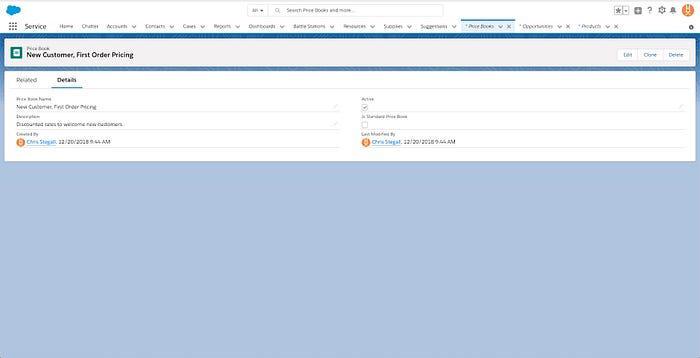
If you already have your products created, jump ahead to step three and we’ll get them added! If not, read on and we’ll quickly run through the product creation process.
Creating a Product
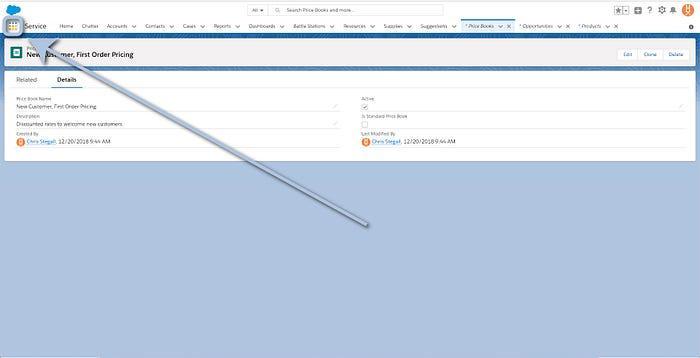
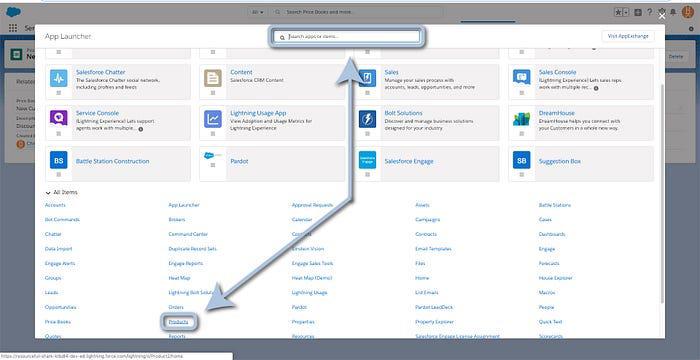
To begin creating our product(s), click on the App Launcher in the top left.
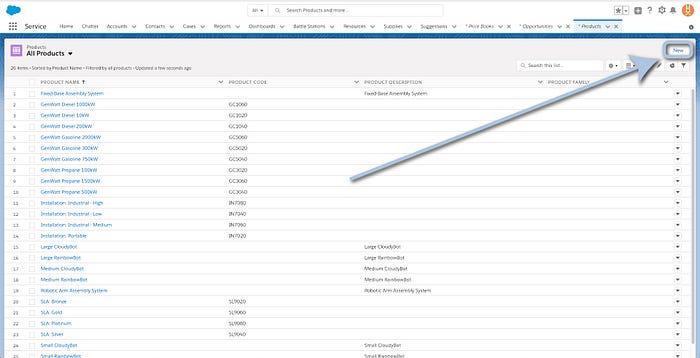
Scroll down a bit and select “Products” in the App Launcher (or type “products” into the search bar and select it from there).

That’ll land you on your products page.
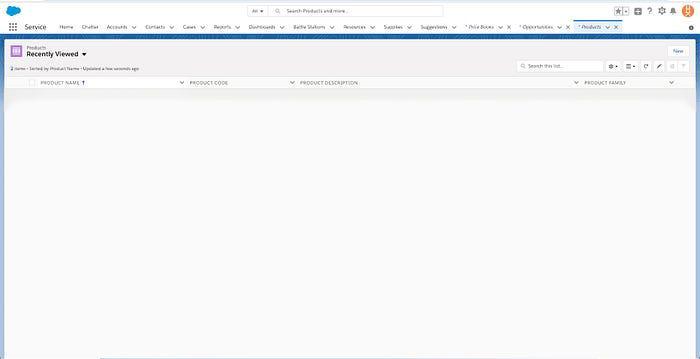
If you’re on “Recently Viewed” and want to see all of your products, click the arrow next to “Recently Viewed” and select “All Products” instead.
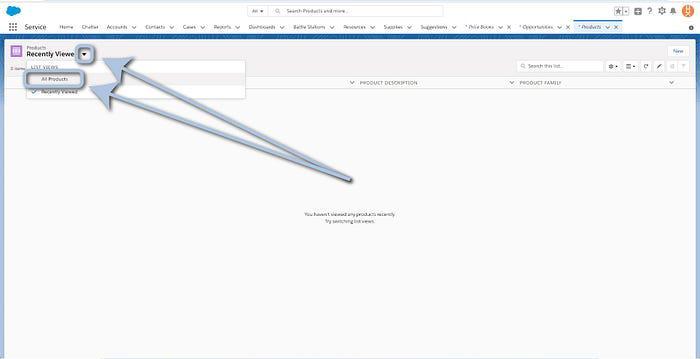
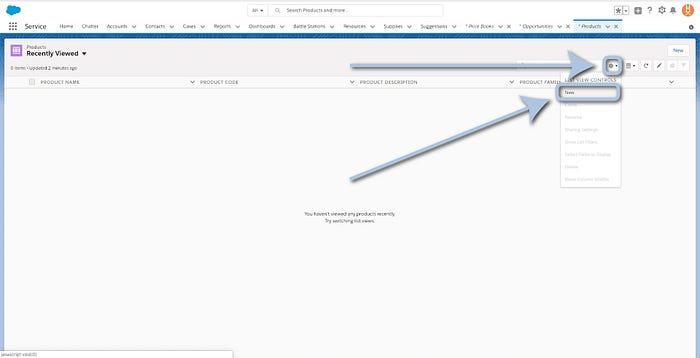
Or, if you haven’t created that list before, click the cog on the right, select “New” under List View Controls, and create a list of all products for yourself!
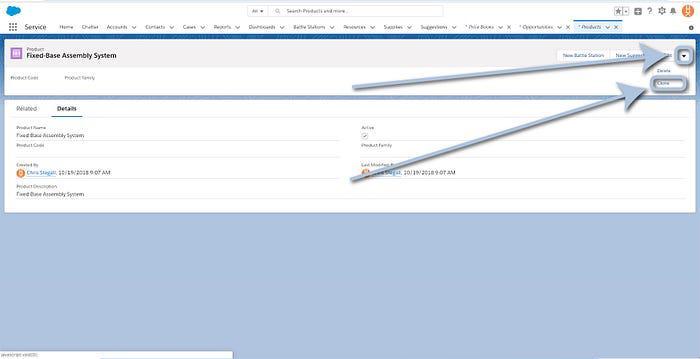
Today we’ll be walking through creating a brand new product, but it’s also possible to clone existing products if you offer a lot of similar services or items and don’t want to create each variation from scratch. If you’re going to do that, be sure to read up on what to consider before cloning. Then all you’ll have to do is click into the product’s page, select the dropdown arrow in the top right, and select clone.
But let’s whip up a brand new product now. From your Products’ List View, click “New” in the top right.
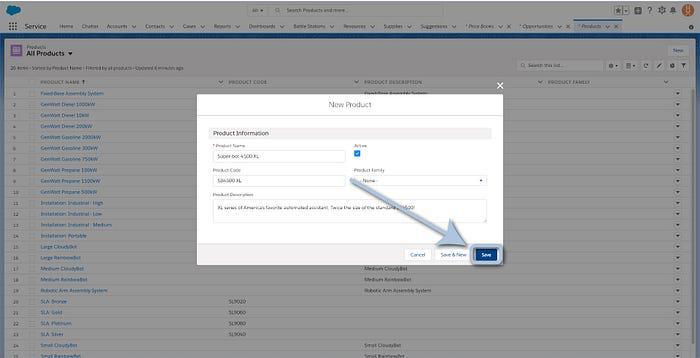
That’ll open the New Product pop-up!
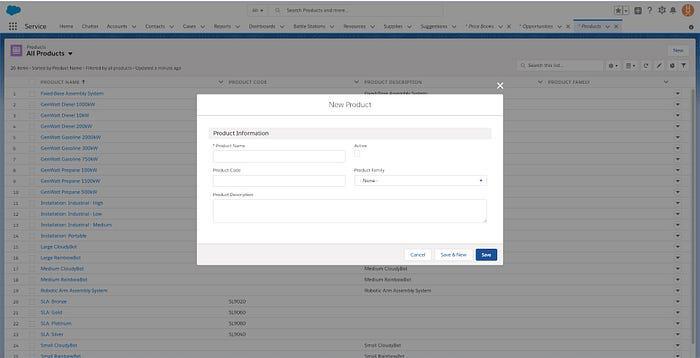
Simply enter the new product’s name and click the “Active” checkbox if you’d like the product to be live in your system. There are also fields for Product Code, Product Family, and a Product Description so you can keep things a bit more organized.
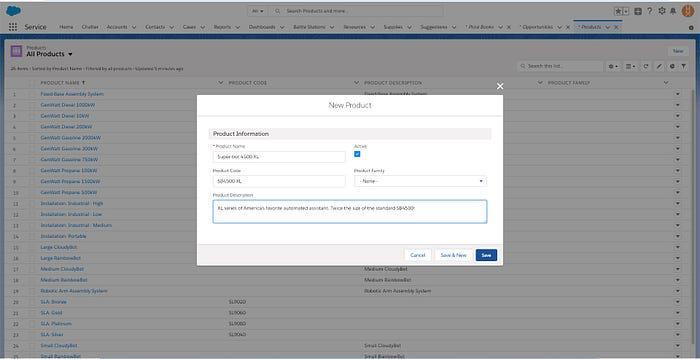
Then click “Save”.
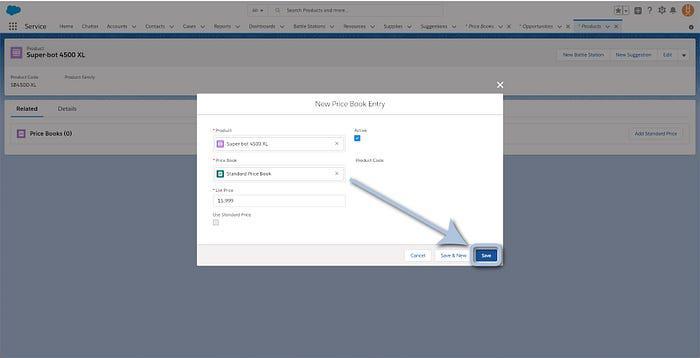
Now your product is active and created, but you’ll need to add a “Standard Price” before you can add it to your desired price book. From the Product’s page (where you landed after clicking “Save”), click “Related” in the top left.
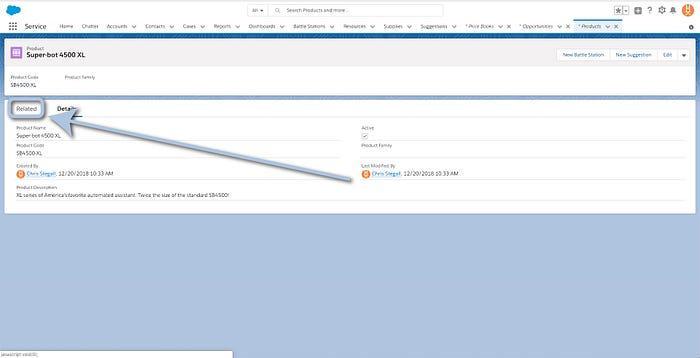
The Related page will show you which price books the product belongs to but, because this one’s brand new, it’ll show a ‘(0)’.

Click the “Add Standard Price” button on the right-hand side.

That’ll open the “New Price Book Entry” pop-up with most of the fields already auto-populated.
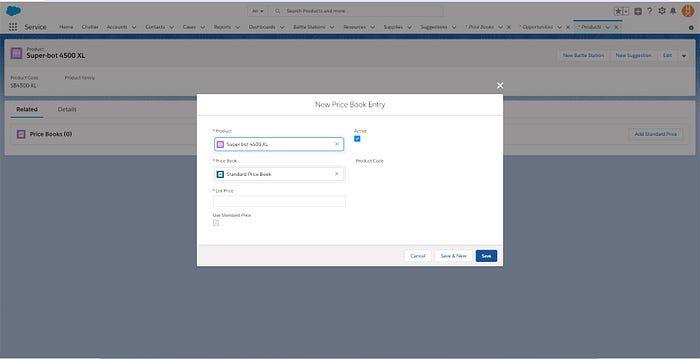
Under “List Price” enter the amount you’d like for the product in your Standard Price Book.
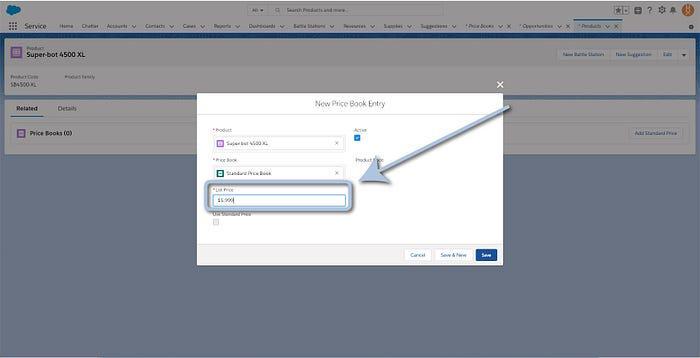
Then click “Save”.
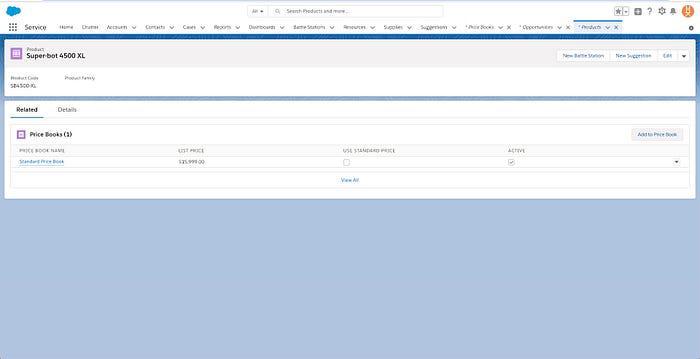
Now, on the “Related” tab you’ll see your new product is listed in your Standard Price Book and it’s ready to be added to as many additional price books as you want!
And that means we’re ready for step three!
Adding an Existing Product to a Price Book
First up, we need to navigate to the product’s page (if you’re coming from step 2, you’re all set — just skip ahead until we catch up to you on the “Related” tab of your product). To begin, click on the App Launcher in the top left.

Scroll down a bit and select “Products” in the App Launcher (or type “products” into the search bar and select it from there).
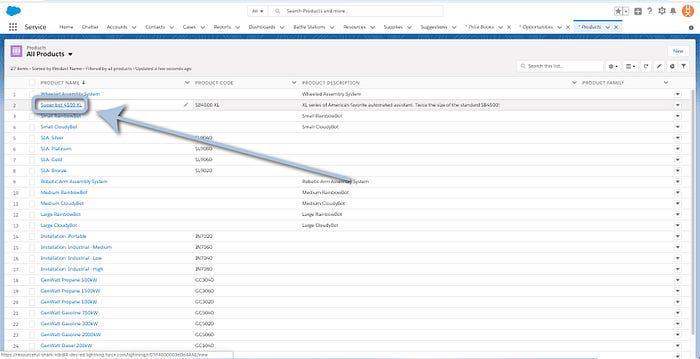
That’ll land you on your Products page.

If you’re on “Recently Viewed” and want to see all of your products, click the arrow next to “Recently Viewed” and select “All Products” instead.

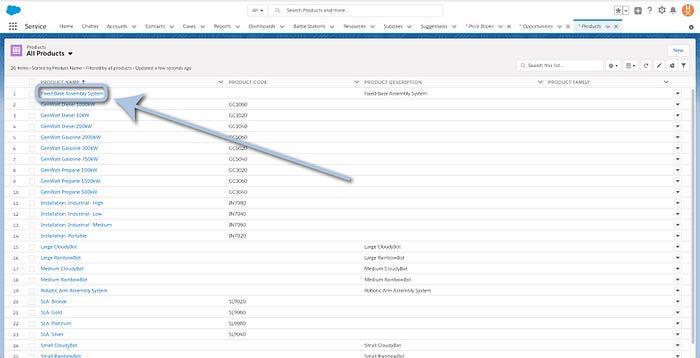
Now, select the product you’d like to add to your price book.
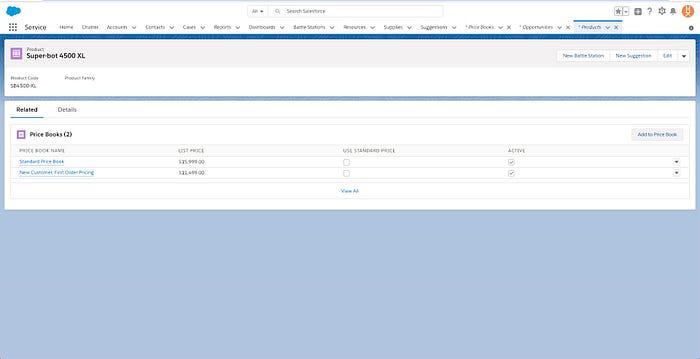
On the product’s page, click the “Related” tab on the top left.

Now you’ll be able to see which price books already contain your product.

To add it to an additional price book, click “Add to Price Book” on the right-hand side.
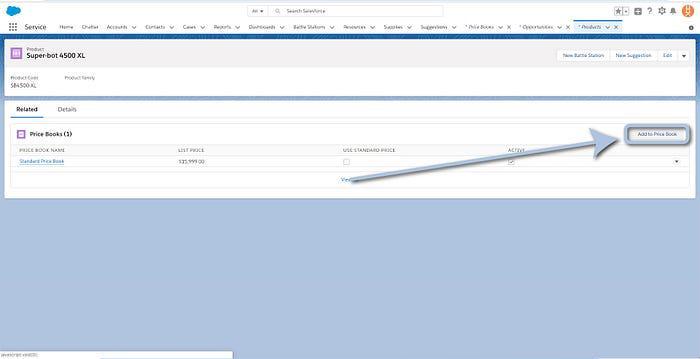
That’ll bring up the “Add to Pricebook” pop-up.
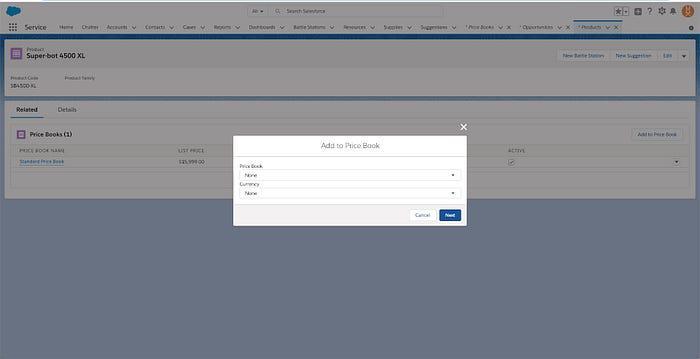
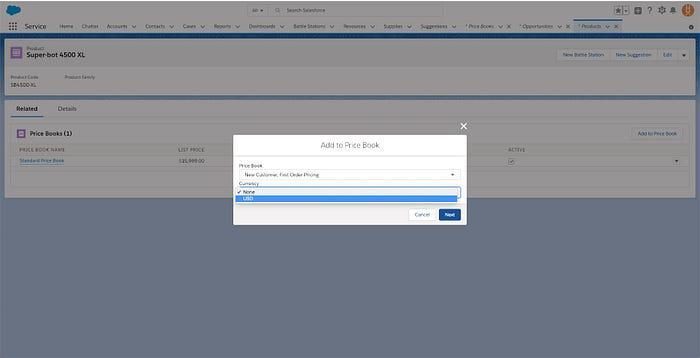
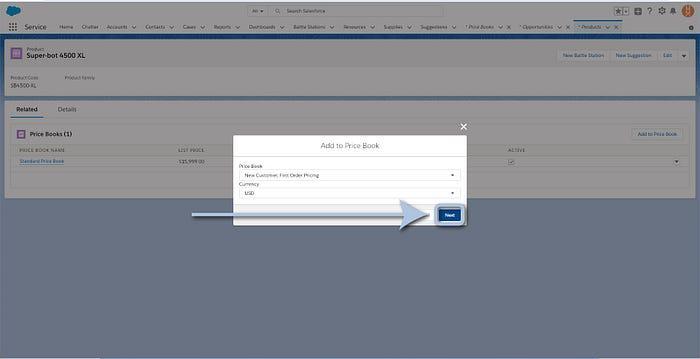
Select the price book where you’d like to add the product.

And then select the currency you’d like to use.
Click “Next”.
Almost there! You’ll now see a mostly auto-filled pop-up showing you the product and price book you selected along with a chance to update the price (it defaults to the Standard Price initially).
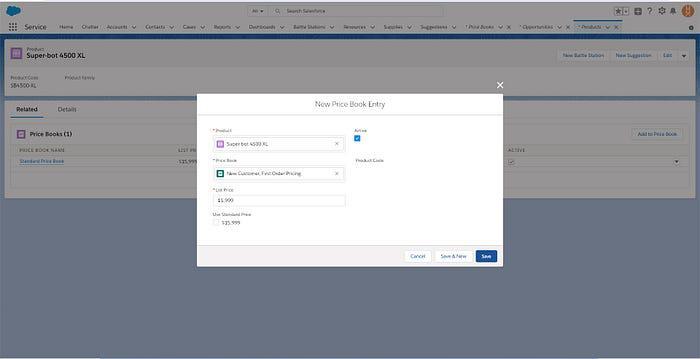
If you’d like to lock-in the standard price (for services like installation or shipping that might not be discounted), click the checkbox that says “Use Standard Price” and it will grey-out the “List Price” field, locking in the standard rate.
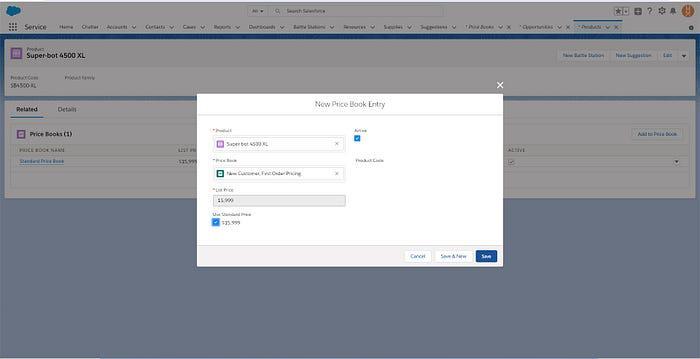
If you’d like to enter your own price, leave that box unchecked and simply enter your desired price in the “List Price” field!
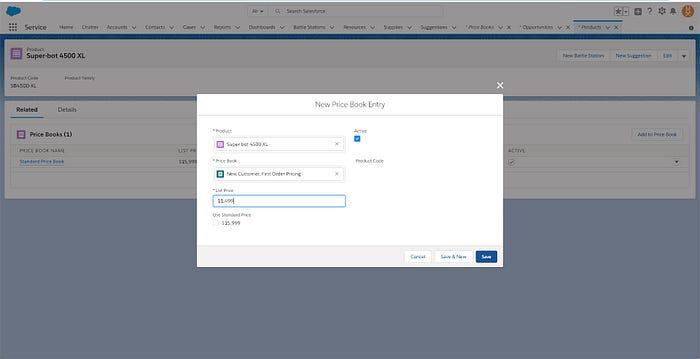
Click “Save”.
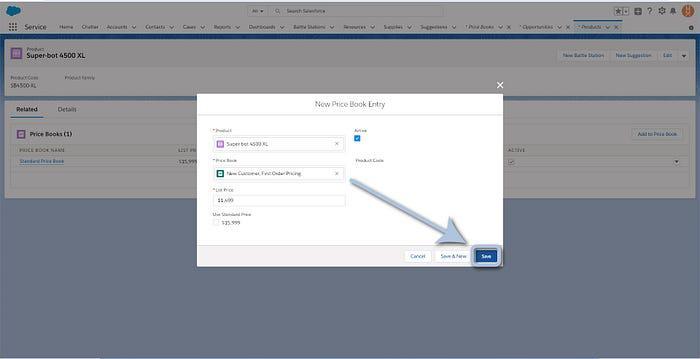
And that’s it! You’ll land back on the product’s “Related” tab and see that it’s now reflected in the new price book along with the updated amount!
Congratulations! You can repeat the above steps for as many products and price books as you (and the sales, biz dev, financing, and accounting teams) need!

Add In our next look at the Salesforce “How To” ABCs, we’ll tackle the letter ‘B’. Until then, work smart, hard, and happy! And we’ll see you in the cloud.