Post
Salesforce “How To” ABCs: J
Posted on August 24, 2022 (Last modified on January 16, 2026) • 2 min read • 385 wordsHow to Join Reports
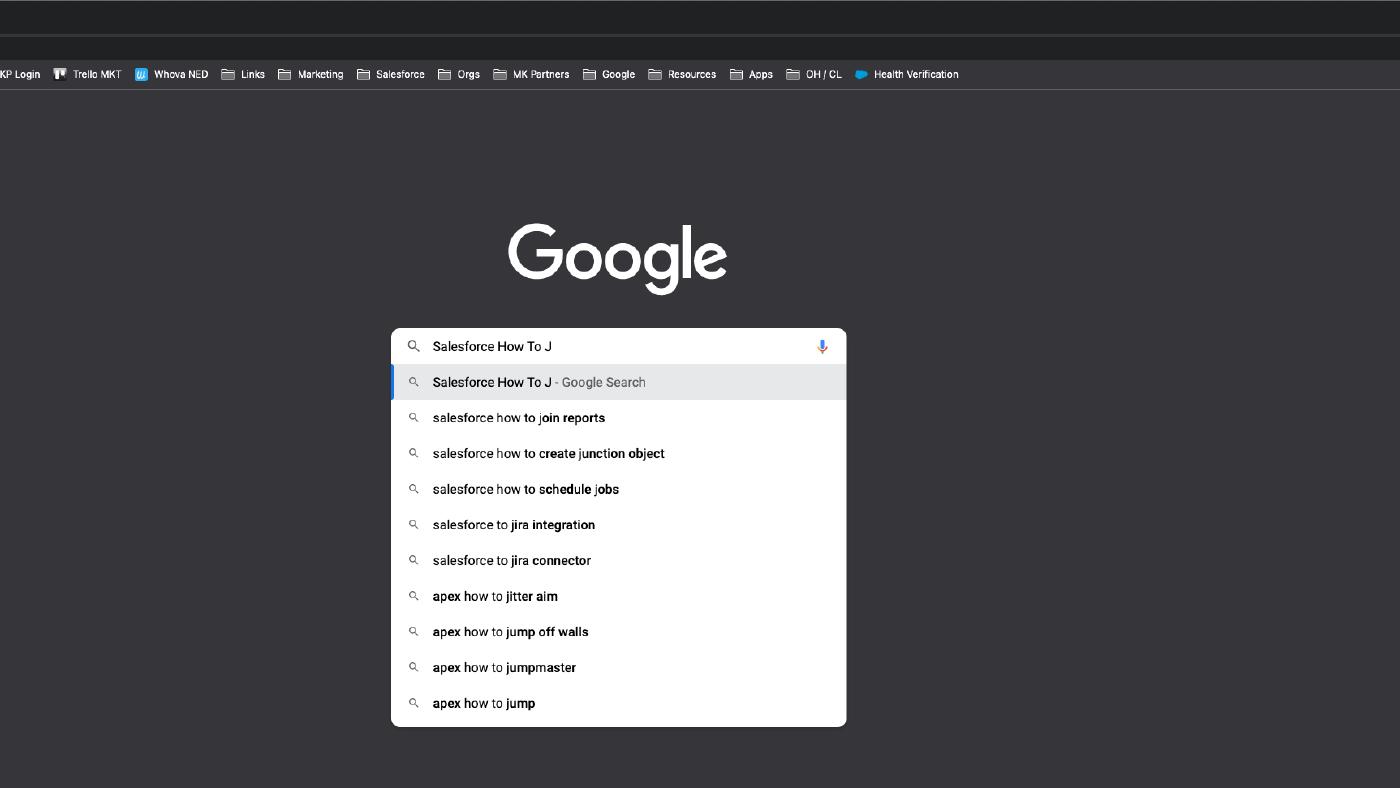
As we are close to wrapping up Summer ’22 and Trailblazers everywhere are getting ready for Dreamforce ’22, many will find themselves googling things they “swore they knew how to do, even just six months ago”. That makes this the perfect time for another installment of our Salesforce “How to” ABCs! The series where we tackle the most commonly Googled Salesforce questions, letter by letter, to help trailblazers find the answers they’re looking for fast!
Today’s letter is “J” as in, “How to Join Reports”. Let’s dive in!
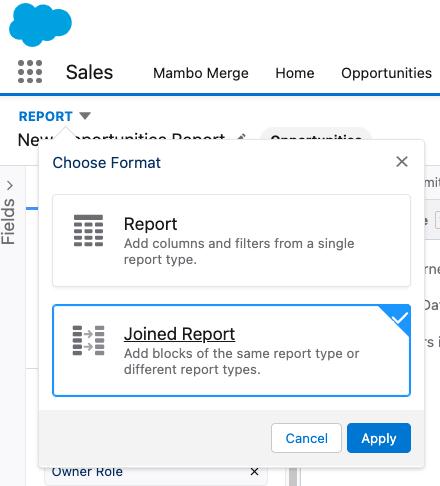
This answer is two fold— because in Lightning Experience Salesforce does all the heavy lifting with a drop down selection once a report has been created. So make sure to click on the “New Report” tab and select the report type you want to create. Note that this selection will determine the principal report type and common fields for the joined reports. Just make sure your initial report has all the necessary fields that needs to be shared between all the reports and you should be good to go.
Once the repot has been created then head over to the upper left corner of the report builder and select Report> Join Report and click on Apply.
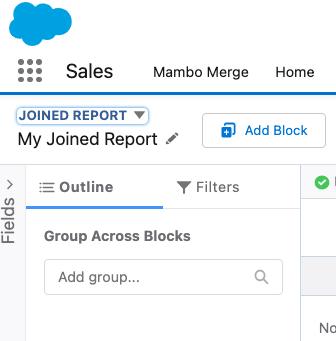
Too add other report types to the newly created joined report, click on Add Block
From here just customize the columns, groups, filters and formulas and Save. Don’t forget to give your Joined Report a name. Lastly run the report to test it out and make sure the data you need all shows up as it should.
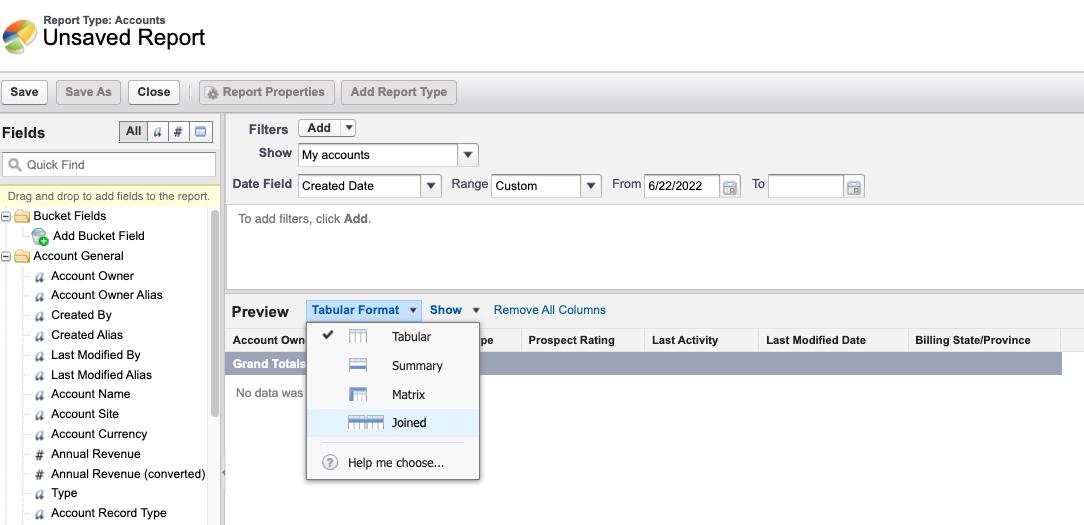
If you need to use Salesforce Classic to create a join report than just follow the same steps to choose a principal (primary) report type to determine the common fields. Once the report builder opens up go ahead and and select Tabular Format> Joined.
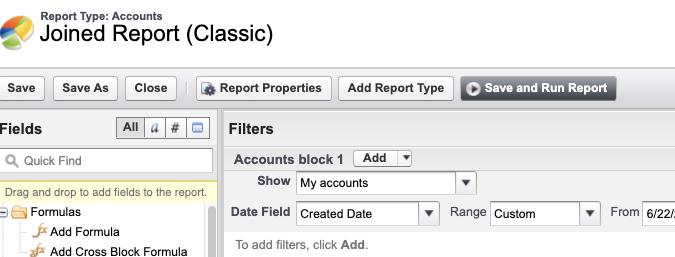
From here to add other reports simply click on the Add Report Type.
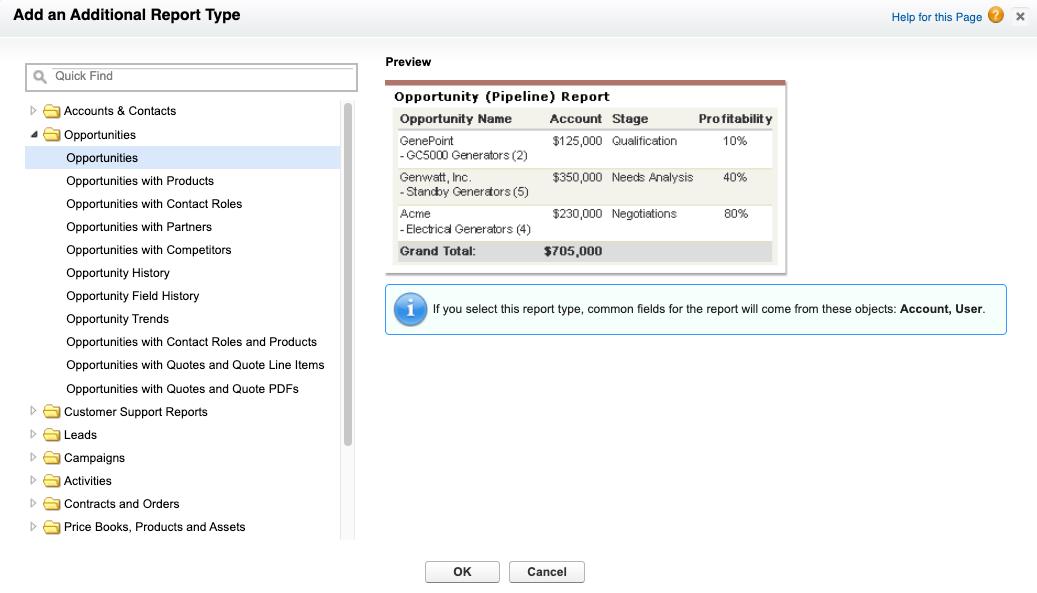
Choose a report type and click OK.
Same as before make sure to give your report a name and save it. Customize the columns, groups, filters and formulas to present the information you seek.
Once it looks all good, go ahead and run it to see what the output looks like.
Until next time, keep working hard, smart, and happy. And we’ll see you in the cloud.